


Coil tattoo machines have been the backbone of tattooing for more than a century. That classic buzz is the sound of an electromagnetic machine at work, and many artists still swear by coils for bold, crisp linework and solid shading. If you're just getting started, though, setting one up can feel confusing. There are springs, screws, cords and a power supply to connect before you ever touch skin.
This guide walks you through everything you need to set up a coil tattoo machine: the equipment, how a coil machine works, and a step-by-step setup checklist. Each section includes the gear we recommend from Element Tattoo Supply.
What You Need to Set Up a Coil Tattoo Machine
A working coil setup has six parts:
- Coil tattoo machine: a liner, a shader, or both
- Power supply: controls the voltage sent to the machine
- Foot pedal: turns the machine on and off hands-free
- Clip cord: connects the machine to the power supply
- Disposable tattoo tube: the grip and tip that guide the needle
- Tattoo needles: needles on a bar, sized for the work you're doing
You'll also need standard shop supplies like gloves, barrier film, machine bags, ink caps, rubber bands and grommets.
How a Coil Tattoo Machine Works
A coil machine uses two electromagnetic coils mounted on a metal frame. When power flows through the coils, they become magnetic and pull the armature bar down, which drives the needle into the skin. As the armature moves down, the front spring separates from the contact screw, breaking the circuit. The coils lose their pull, the spring snaps the armature back up, the circuit closes again, and the cycle repeats many times per second.
The key parts to know are:
- Coils: the electromagnets that power the stroke
- Armature bar: the moving bar that holds the needle
- Front and back springs: return the armature and set the feel of the machine
- Contact screw: adjusts the gap that controls stroke length and speed
- Binding posts: where the clip cord connects
- Tube vise: clamps the tube in place
Liner vs. Shader: Which Coil Machine Do You Need?
Coil machines are usually tuned for a specific job.
- Liners run with a shorter stroke and a faster, snappier hit. They're built to put clean, solid lines in one pass.
- Shaders run with a longer stroke and a softer, slightly slower hit. That's ideal for packing color, black fill and smooth shading with magnums.
Many artists keep at least one of each so they don't have to retune a single machine in the middle of a tattoo.
Coil Tattoo Machine
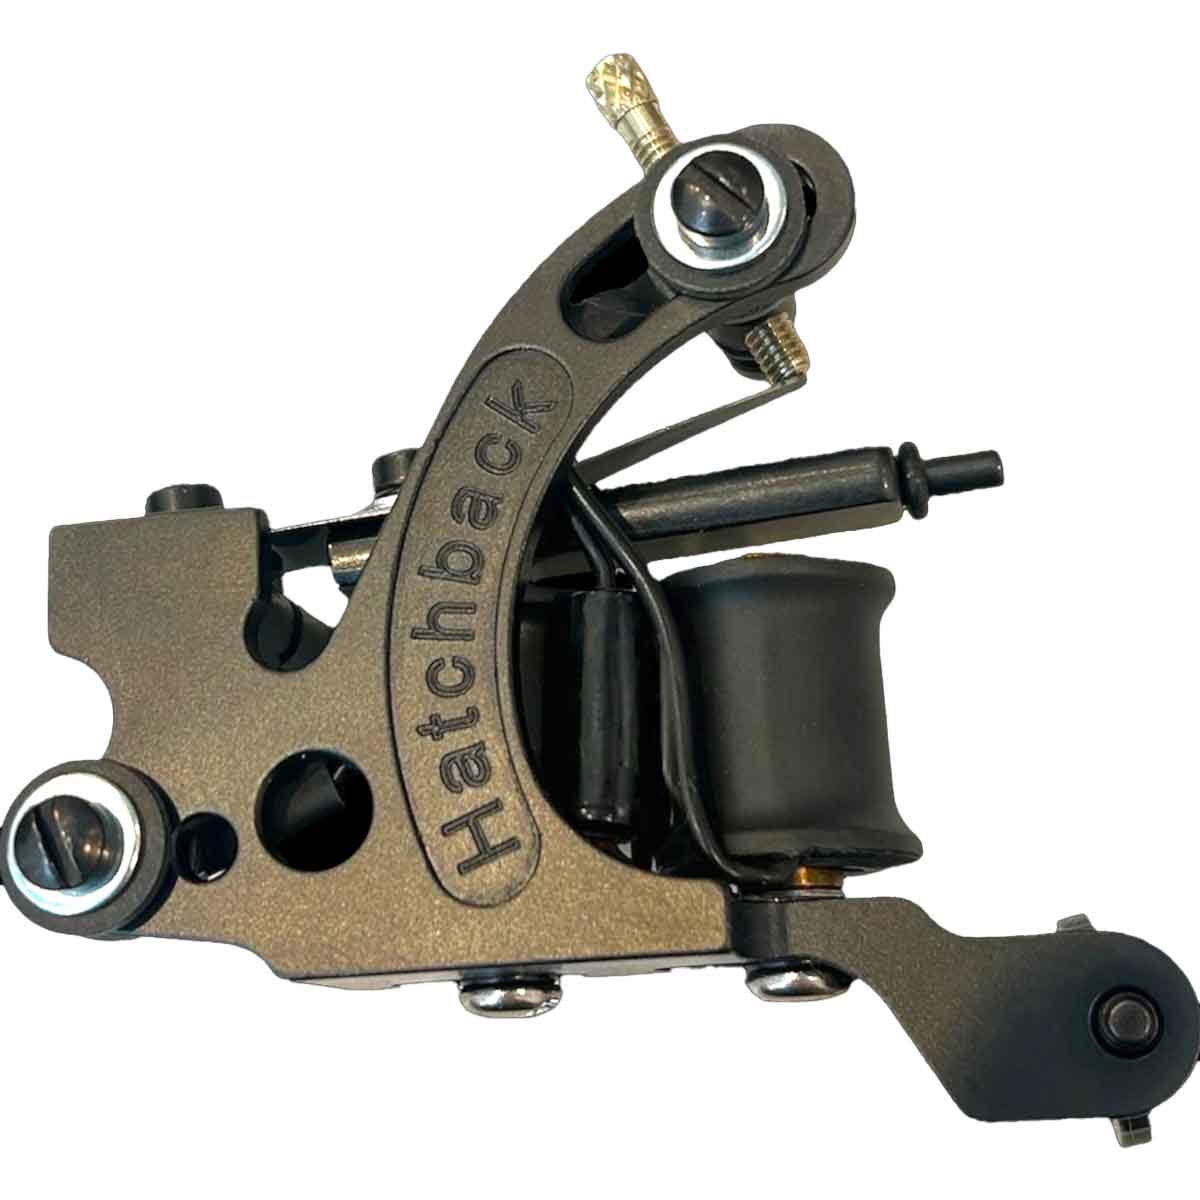
Hatchback HATCHOMATIC Shader / Color Coil Tattoo Machine
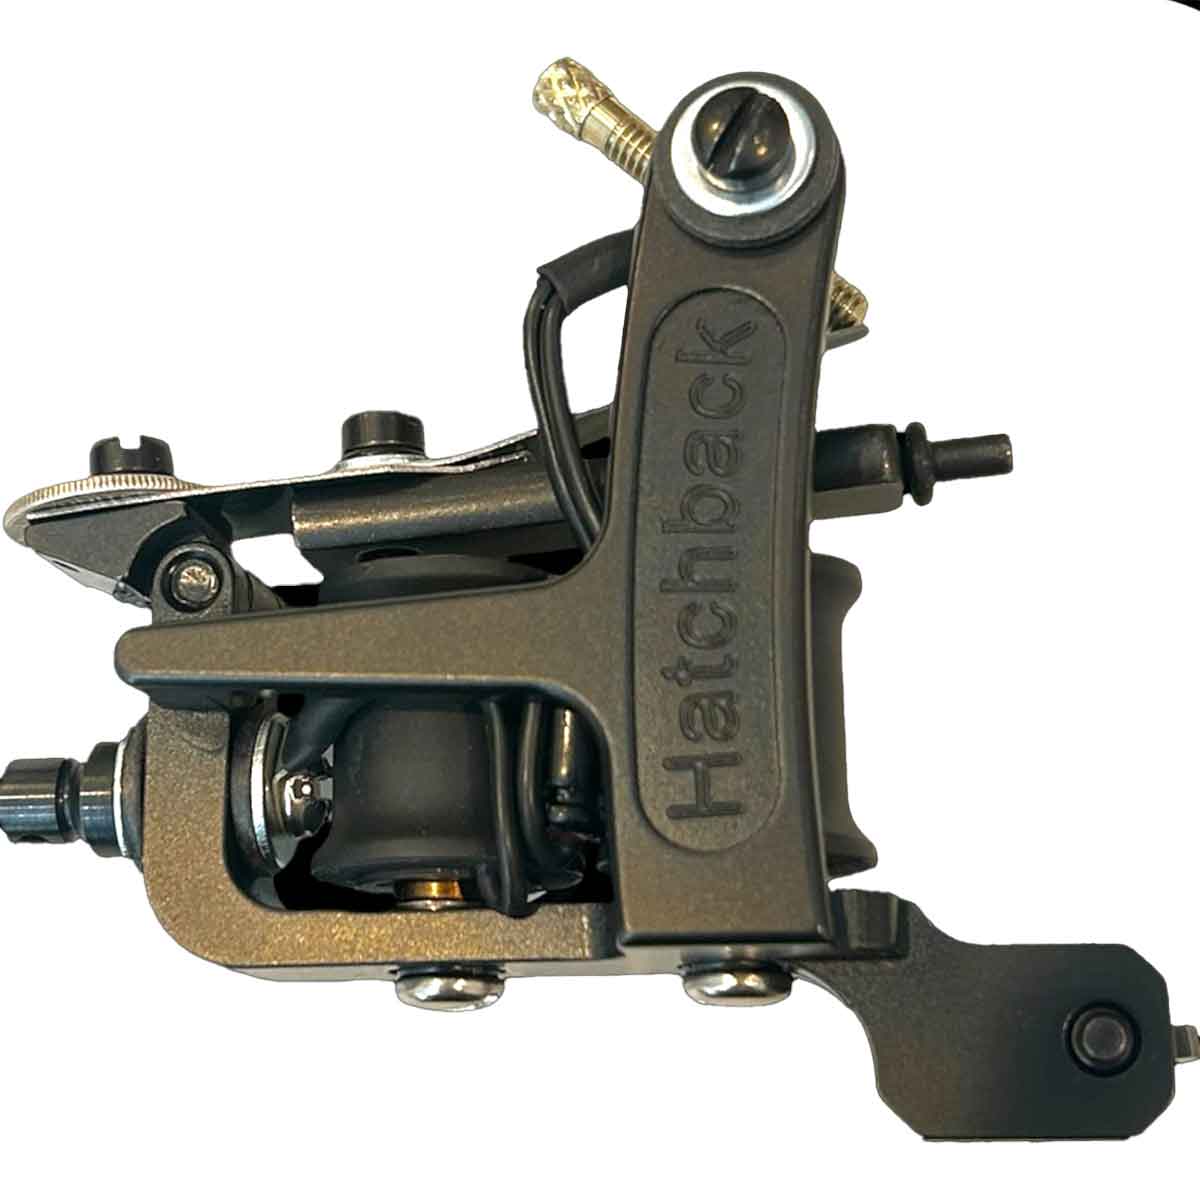
Hatchback Spider Shader – Long Spring Whip Shader Coil Tattoo Machine
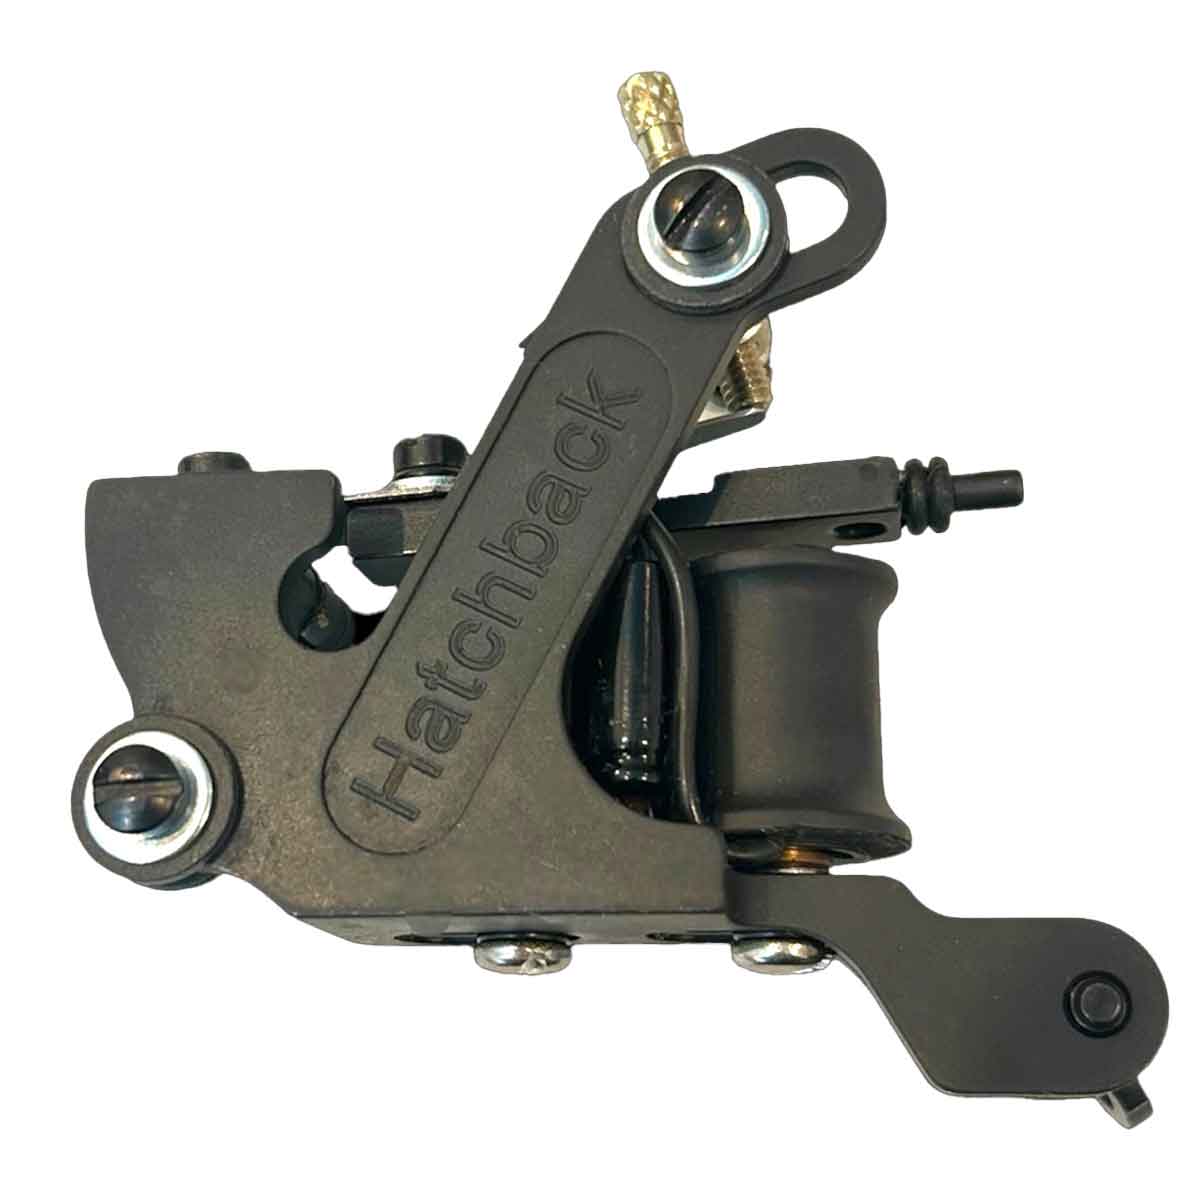
Hatchback Sledge Liner Coil Tattoo Machine
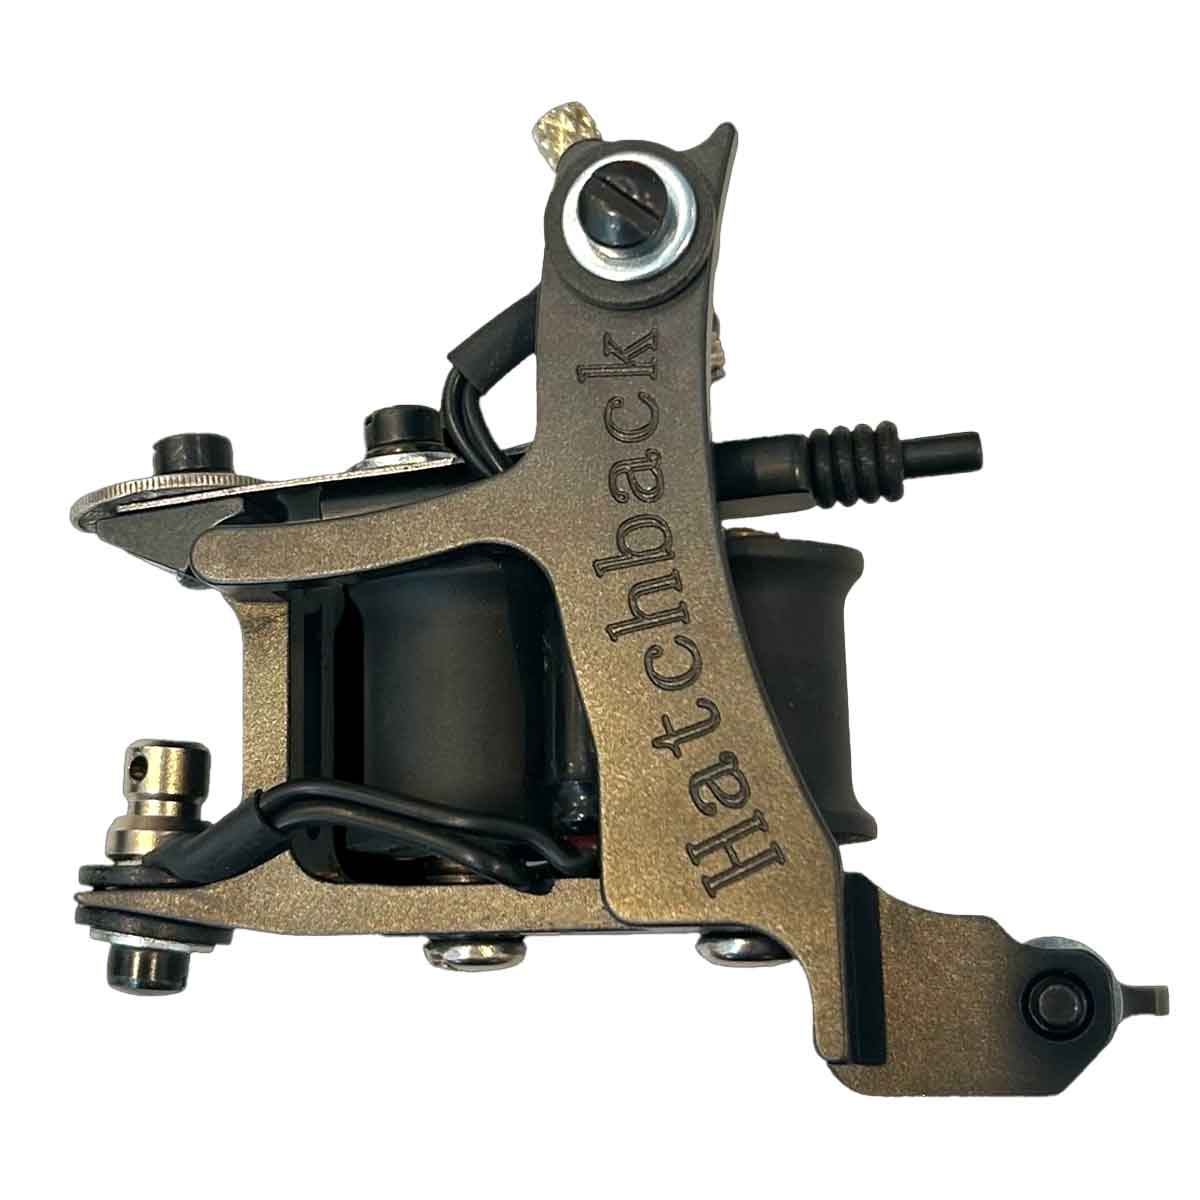
Hatchback Shank Tight Grouping Liner Coil Tattoo Machine
Choosing a Tattoo Power Supply
The power supply is the control center of your setup. It lets you set the voltage, which changes how hard and fast the machine runs. Look for a supply with a clear digital display, stable output so the voltage doesn't drift during a session, and ideally dual outputs so you can run a liner and shader without swapping cords.
Power Supply

ELEMENT Premium High-Power 3.4 Amp Dual Output Power Supply

Critical® CX-1 Generation 2 Micro Power Supply

ELEMENT Dual Output Tattoo Power Supply
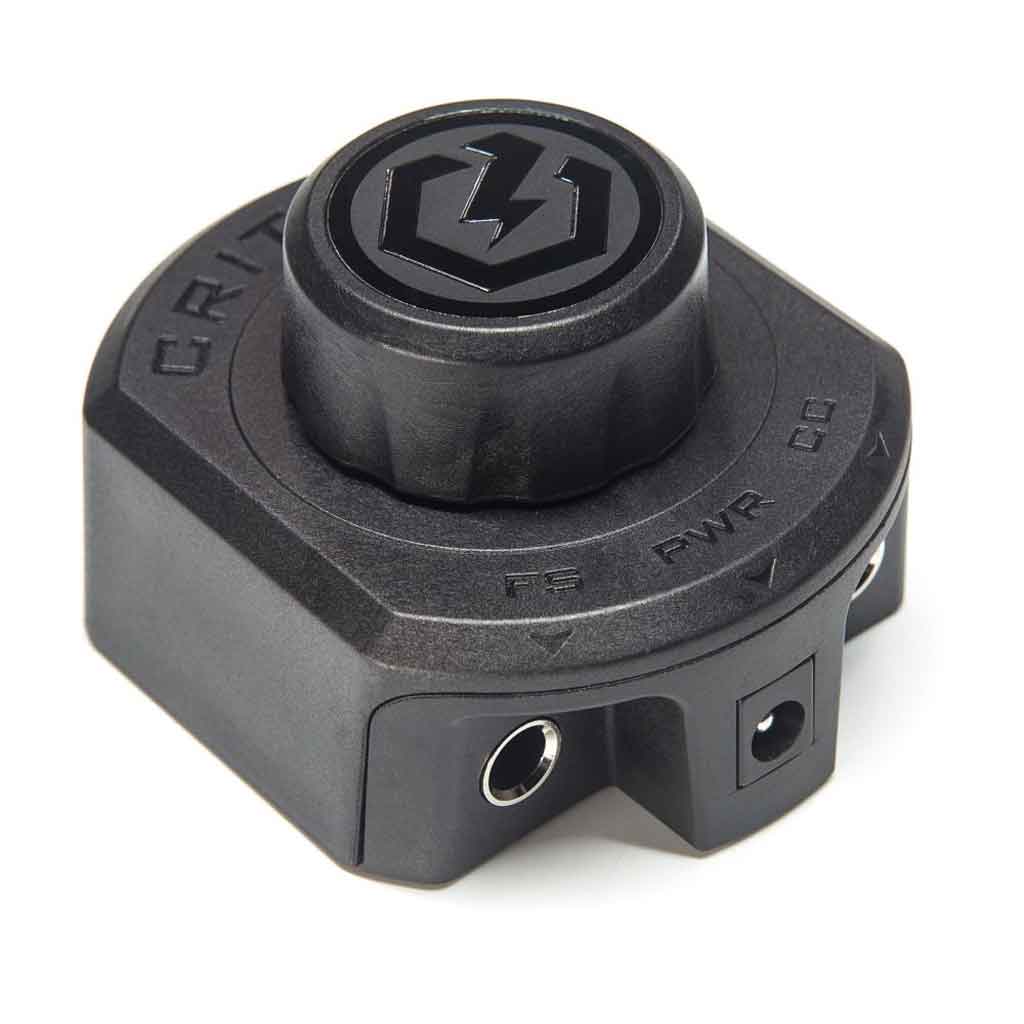
Critical® MNML Power Supply — Black
Choosing a Foot Pedal
The foot pedal switches your machine on and off so both hands stay free. A good pedal has a sturdy, non-slip base, a responsive switch that doesn't stick, and a cord long enough to reach your station comfortably. Wireless options remove one more cord from your workspace.
Foot Pedal

Tattoo Foot Pedal 360-Degree 5 ft cord
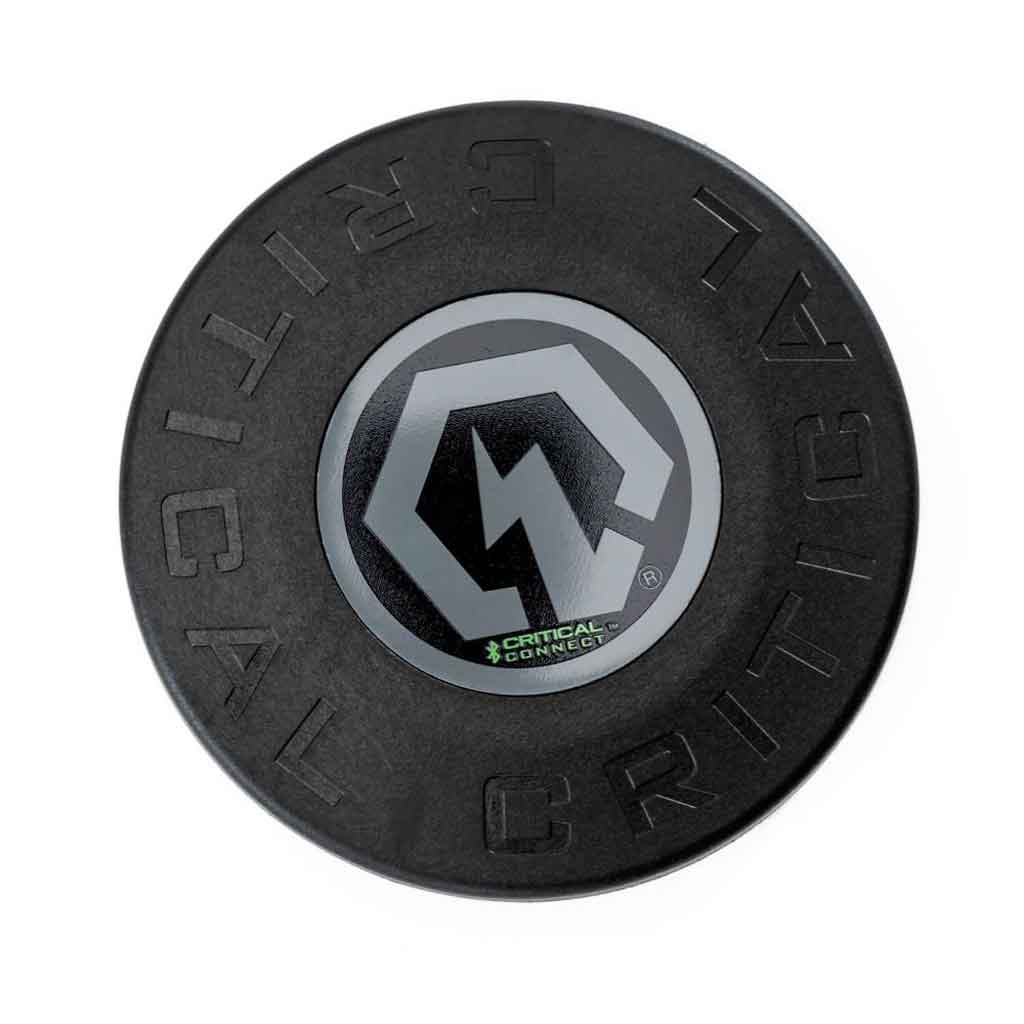
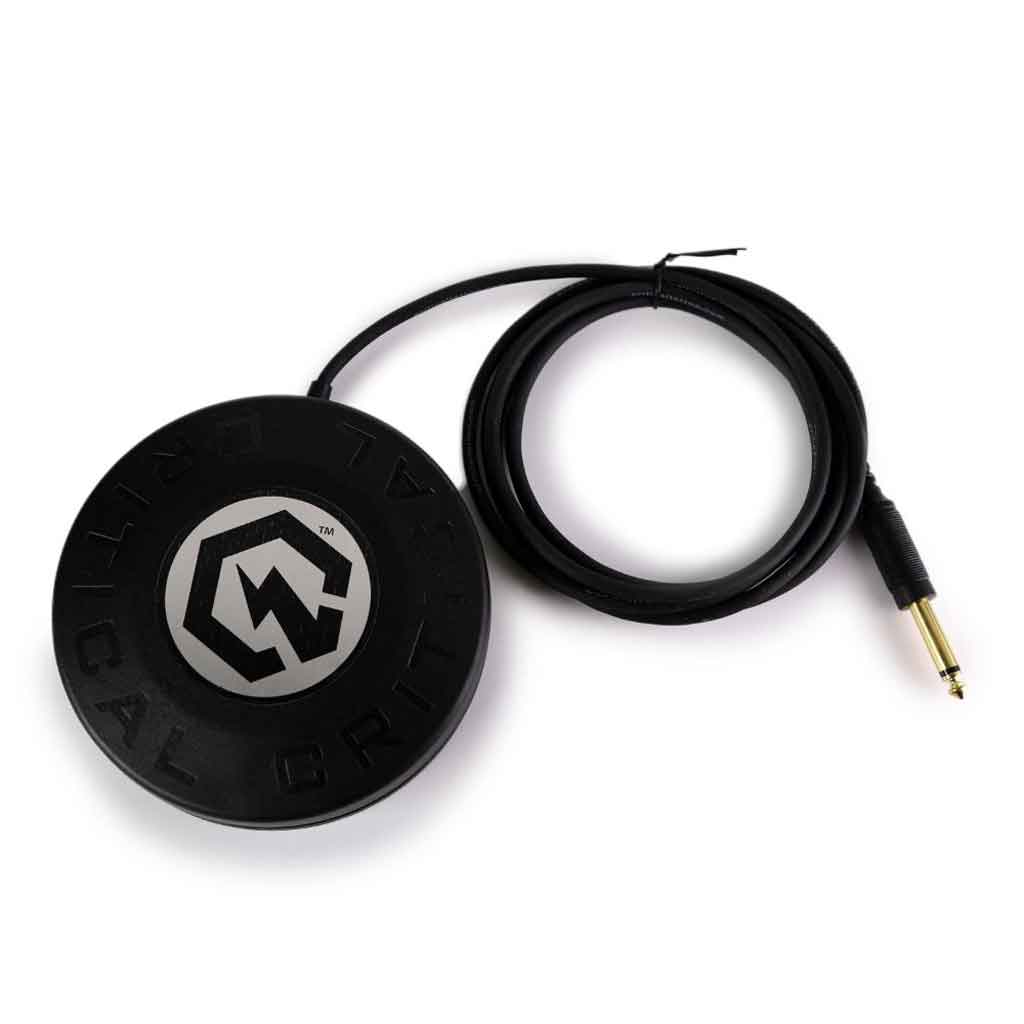
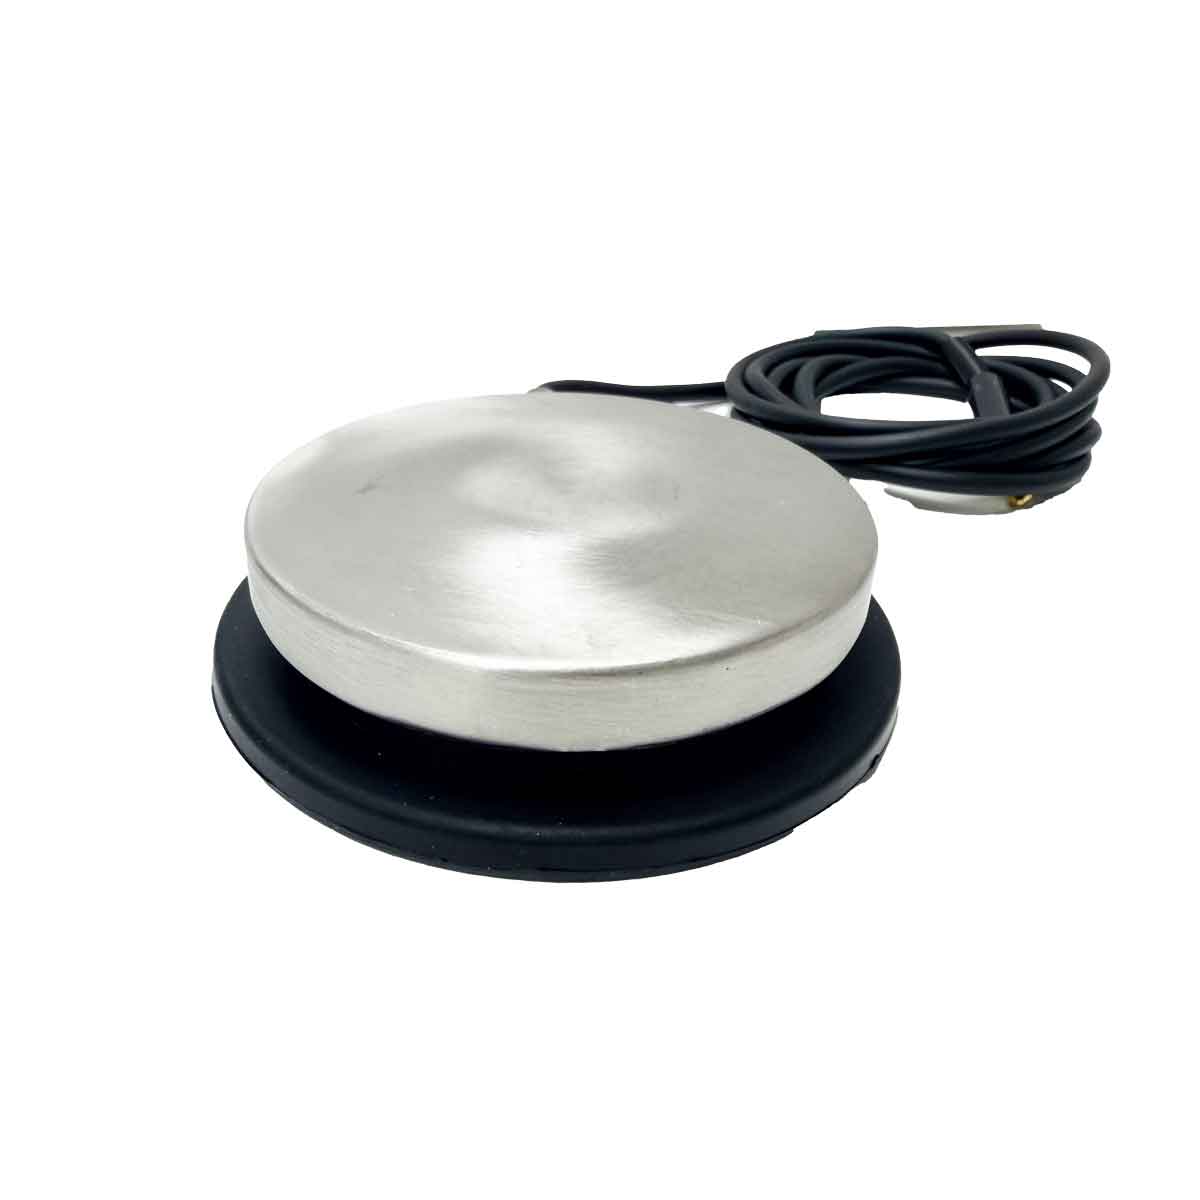
Element Premium Tattoo Foot Switch – Built for Daily Shop Use
Clip Cord vs. RCA Cord
Coil machines usually connect with a clip cord, which clips onto the machine's two binding posts. Some machines use an RCA connection instead, so check which plug your machine takes before you buy. Either way, choose a cord with solid connectors and flexible wire, and replace it if the connection ever cuts in and out.
Cords
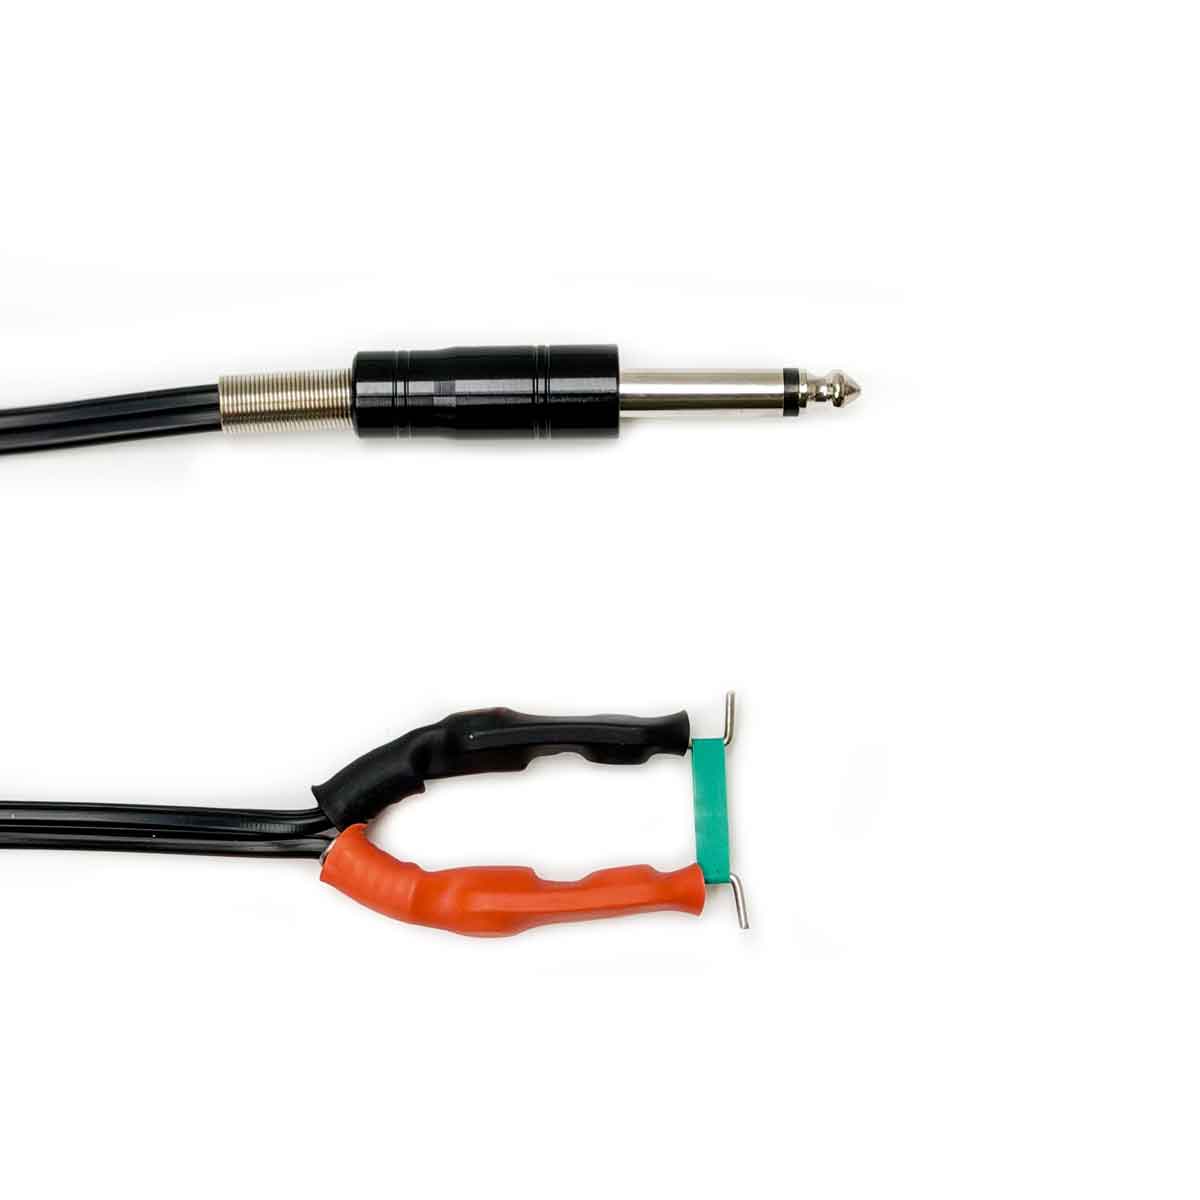
ELEMENT Tattoo Machine Clip Cord Cable Black 6ft

Bishop Premium Lightweight RCA Cord Straight, Gray
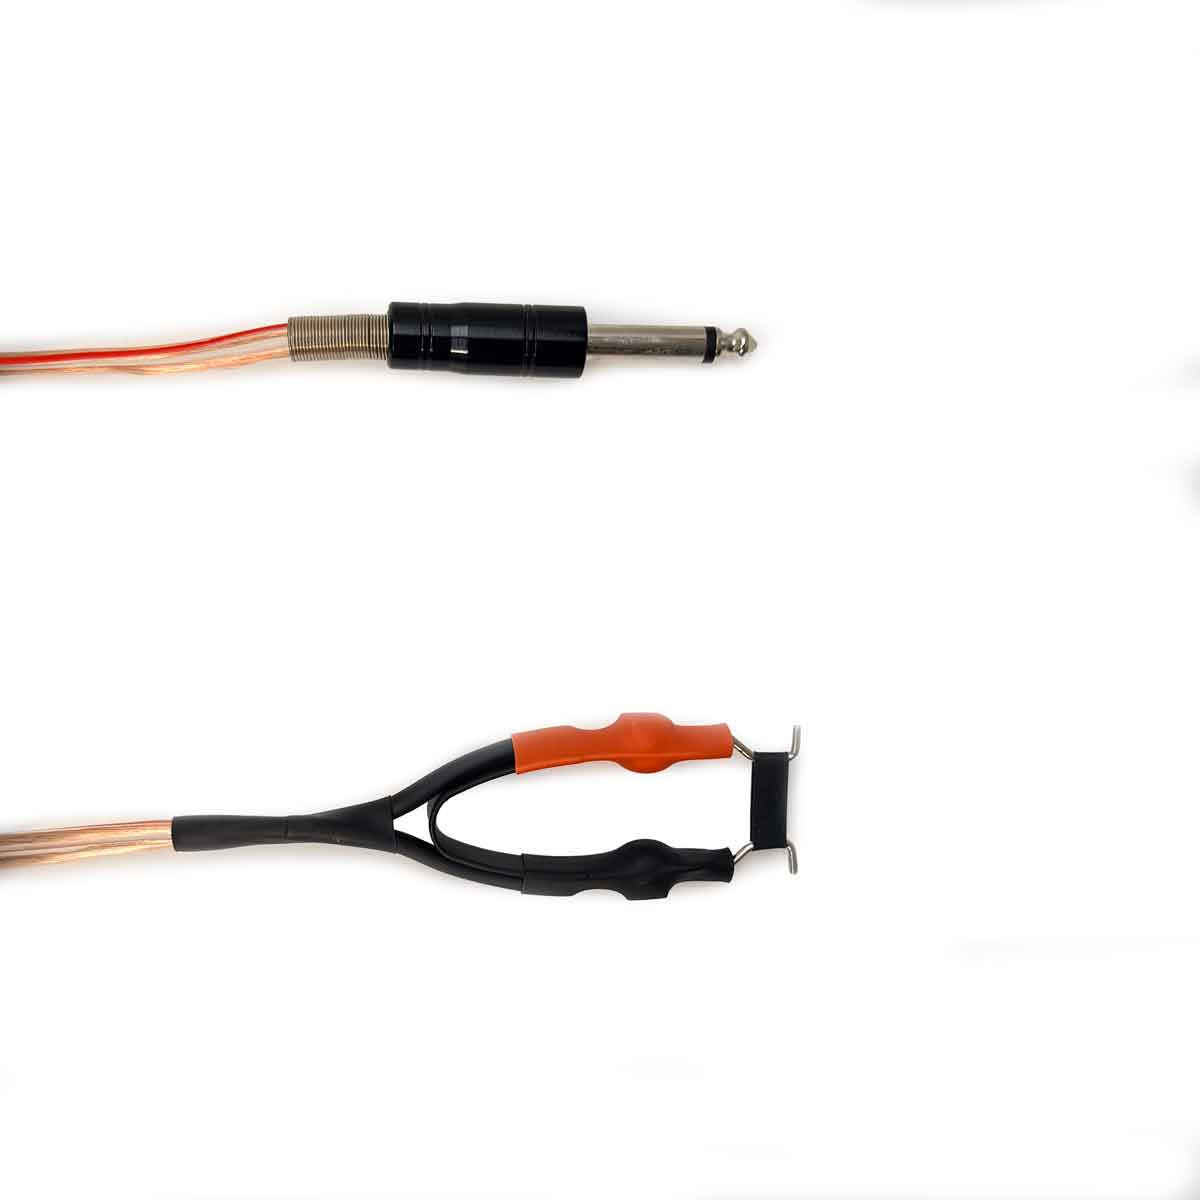
ELEMENT Tattoo Machine Clip Cord Cable Clear 6ft

Tattoo RCA Cord, Straight 6 Ft Red
Disposable Tubes and Needles
Coil machines use a tube and a needle on a bar. The tube slides into the machine's tube vise, and the needle bar runs through it and attaches to the armature bar. Single-use, pre-sterilized disposable tubes are the simplest and most hygienic choice for beginners. Match the tube tip to your needle:
- Round tip: for round liners and round shaders
- Diamond tip: for round liners, with a V-shaped tip that helps guide the needle
- Closed magnum tip: for magnums, with a closed slot that guides the needle row
- Open magnum tip: for magnums, with an open slot so you can see the needle while you work
Not sure which needle grouping to use? Read our guide: Tattoo Needle Groupings Explained.
Disposable Tattoo Tubes and Needles
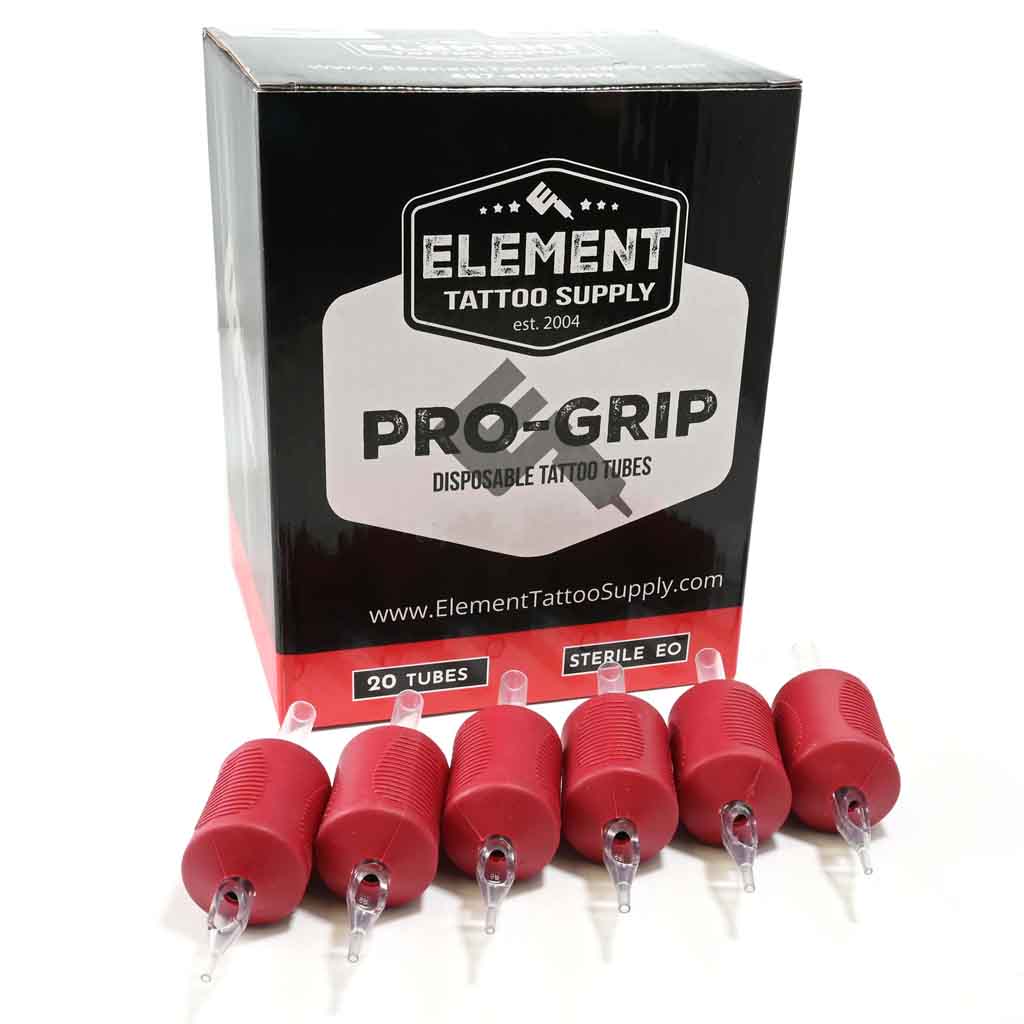
ELEMENT PROGRIP Disposable Tattoo Tubes Round Tip 1.25" Grip
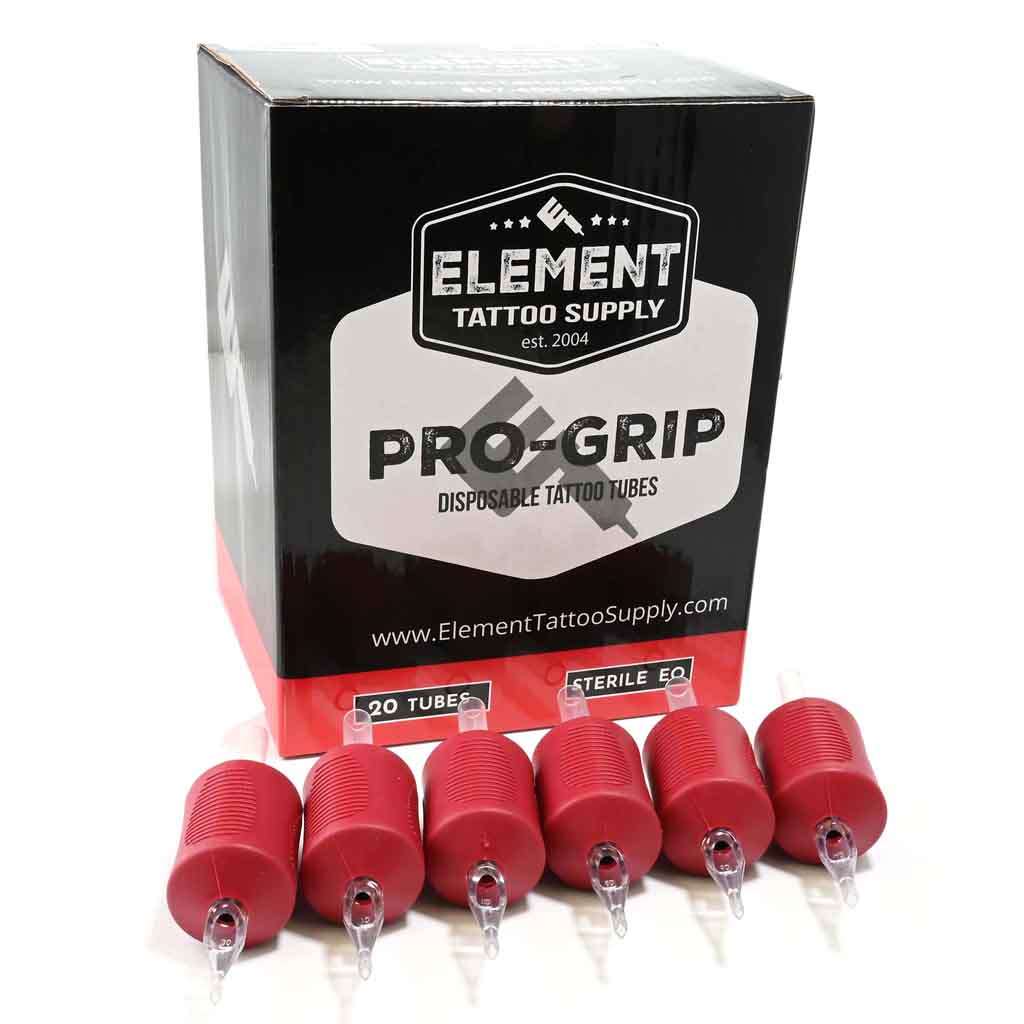
ELEMENT PROGRIP Disposable Tattoo Tubes Diamond Tip 1.25" Grip

ELEMENT PROGRIP Disposable Tattoo Tubes Closed Magnum 1.25" Grip
ELEMENT PRO-GRIP Disposable Tattoo Tubes Open Magnum 1.25" Grip
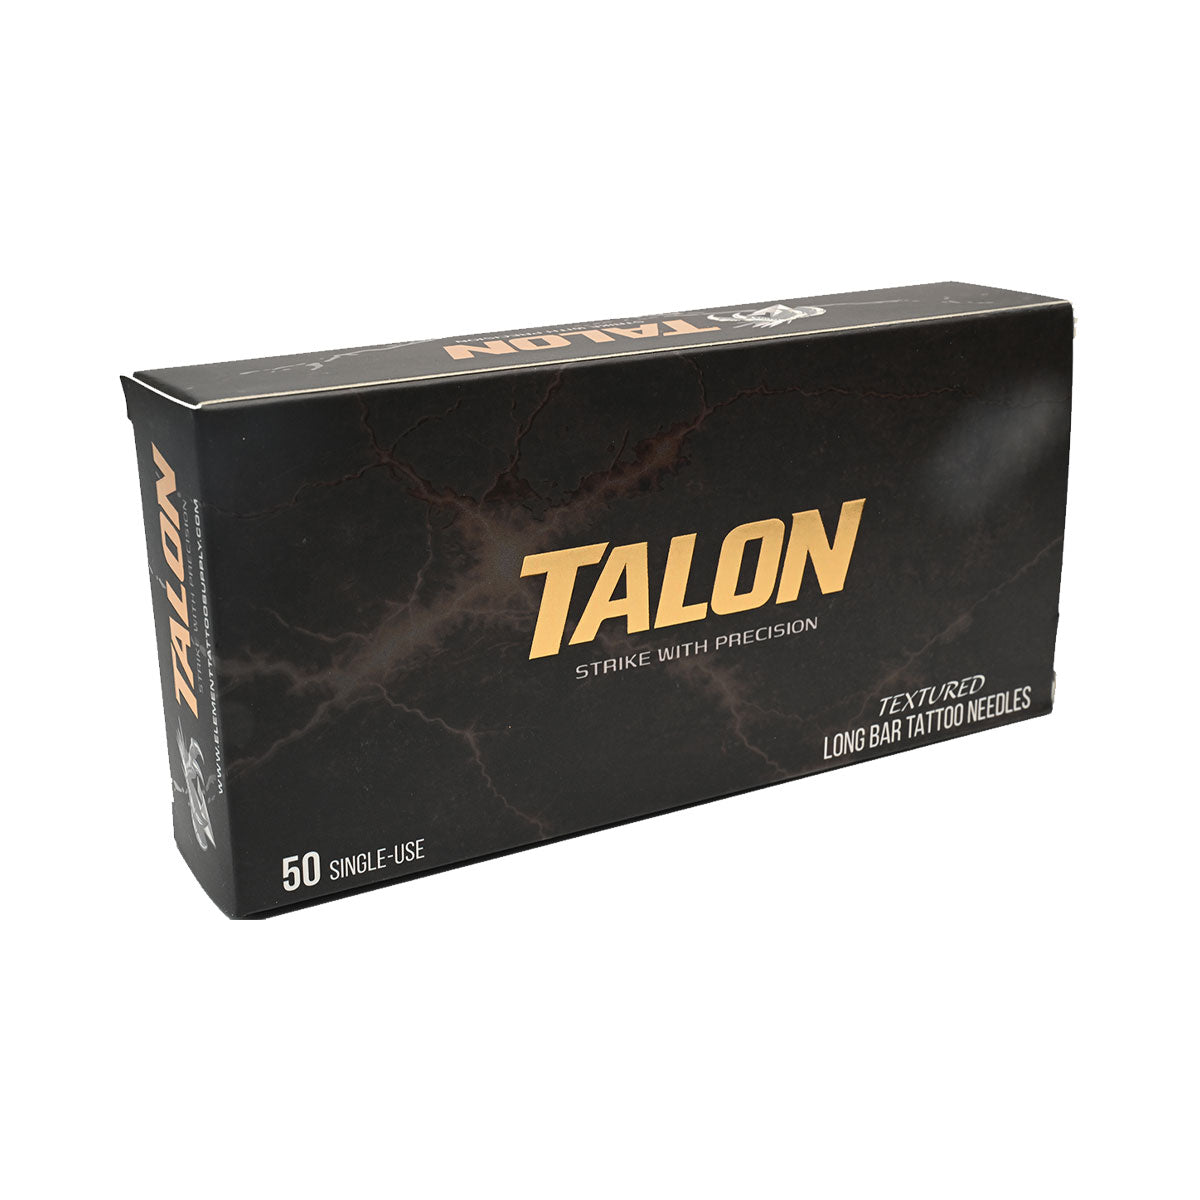
TALON Round Liner Tattoo Needles
How to Set Up a Coil Tattoo Machine: Step by Step
- Prep and cover your station. Disinfect your work surface, then cover the power supply, clip cord and machine with barrier film or bags. Learn why in Why Tattoo Artists Cover Their Equipment.
- Connect the foot pedal to the foot pedal jack on the power supply.
- Connect the clip cord to the power supply output, then clip the other end onto the machine's binding posts.
- Insert the tube. Slide a fresh disposable tube into the tube vise and tighten it just enough to hold it firmly.
- Load the needle. Slide the needle bar through the tube and hook its loop onto the armature bar nipple. Secure it with a grommet, and add a rubber band around the machine to keep the needle steady and centered in the tip.
- Set the needle depth. Adjust the tube so the needle sits just inside or barely past the tip at rest. When the armature is pressed down, the needle should extend a short distance past the tip. Lining usually needs a little more needle showing than shading.
- Check the contact gap. With the machine off, check the gap between the front spring and the contact screw. A smaller gap gives a shorter, faster stroke for lining, while a larger gap gives a longer, softer stroke for shading.
- Set your voltage. Start low, press the pedal and slowly increase the voltage until the machine runs smoothly and consistently. Liners usually run a bit faster than shaders, but the right voltage depends on your machine, so listen for a steady, even buzz.
- Test before you tattoo. Practice on synthetic practice skin until your lines are clean and your shading is smooth before working on a client.
Beginner Tips for Coil Machines
- Listen to your machine. A smooth, steady buzz usually means it's tuned well. Sputtering or uneven sound often points to a loose screw, a worn spring or a contact gap that needs adjusting.
- Keep spare parts on hand. Springs, contact screws, O-rings and grommets wear out over time, and replacing them is quick and inexpensive.
- Don't overtighten. The tube vise and contact screw only need to be snug. Overtightening can strip threads or crack parts.
- Always use single-use needles and tubes. Never reuse needles, and follow your local health department's sterilization and disposal rules.
Ready to Build Your First Setup?
A coil machine rewards patience. Once it's tuned to your hand, it's a reliable tool you'll use for years. Start with a quality liner and shader, a stable power supply, a dependable foot pedal and a good clip cord, and you'll have everything you need to start practicing.
Still choosing your first machine? Read Buy Your First Tattoo Machine from Element Tattoo Supply.


